
If you are still asking what is workflow automation, start with our definition. This guide assumes you have picked Make and want scenarios that keep running.
Where this guide comes from. Romain Ben, co-founder and AI engineer at OptimizIA.xyz, builds and maintains automations on Make, n8n and Zapier, and picks the platform per workflow. The first-hand examples below come from workflows we run in production, described in our published case studies. They run on n8n, and the rules carry over to Make unchanged. Make's limits and prices were checked on its own pages in October 2026.
What is Make workflow automation?
Make workflow automation is the process of using the Make platform to create automated sequences of tasks across different applications. A workflow, or scenario, is built from three kinds of blocks:
- A trigger module that watches for a specific event, such as a new email, a form submission, or a scheduled time.
- Action modules that perform operations in other apps, like adding a contact to a CRM, generating a document, or posting a message.
- Filters, routers, and error handlers that control the flow of data.
Make stands out because of its visual editor. You see the entire workflow as a flowchart, with each module representing a step. This makes it easier to understand and debug compared to code-based automation. The platform also supports complex data mapping, allowing you to transform information between steps.
How does Make differ from other automation tools?
Make is often compared to Zapier. The main difference is the visual interface and the pricing model. Make bills in credits, one per module run in most cases, while Zapier charges per task. For complex workflows with many steps, Make can be more cost-effective because a credit costs far less than a task: billed annually, Make's Core plan includes 10,000 credits per month for $9, where Zapier's Professional plan includes 750 tasks for $19.99. However, for simple two-step automations, Zapier might be simpler to set up. Our Zapier workflow automation guide covers that side.
Count carefully, though. On Make, a scheduled trigger uses one credit every time it checks for new data, and a module that processes ten items uses ten. On the Free plan's 15-minute minimum interval, a scenario that polls around the clock spends about 2,900 credits a month on checks alone, almost three times the 1,000 credits the plan includes.
Make also offers more advanced features like iterators, aggregators, and error handling branches. These are useful for processing multiple items or dealing with failures gracefully.
How to build a Make workflow: a step-by-step method
Building a reliable Make workflow involves more than just connecting modules. Here is a method that focuses on maintainability.
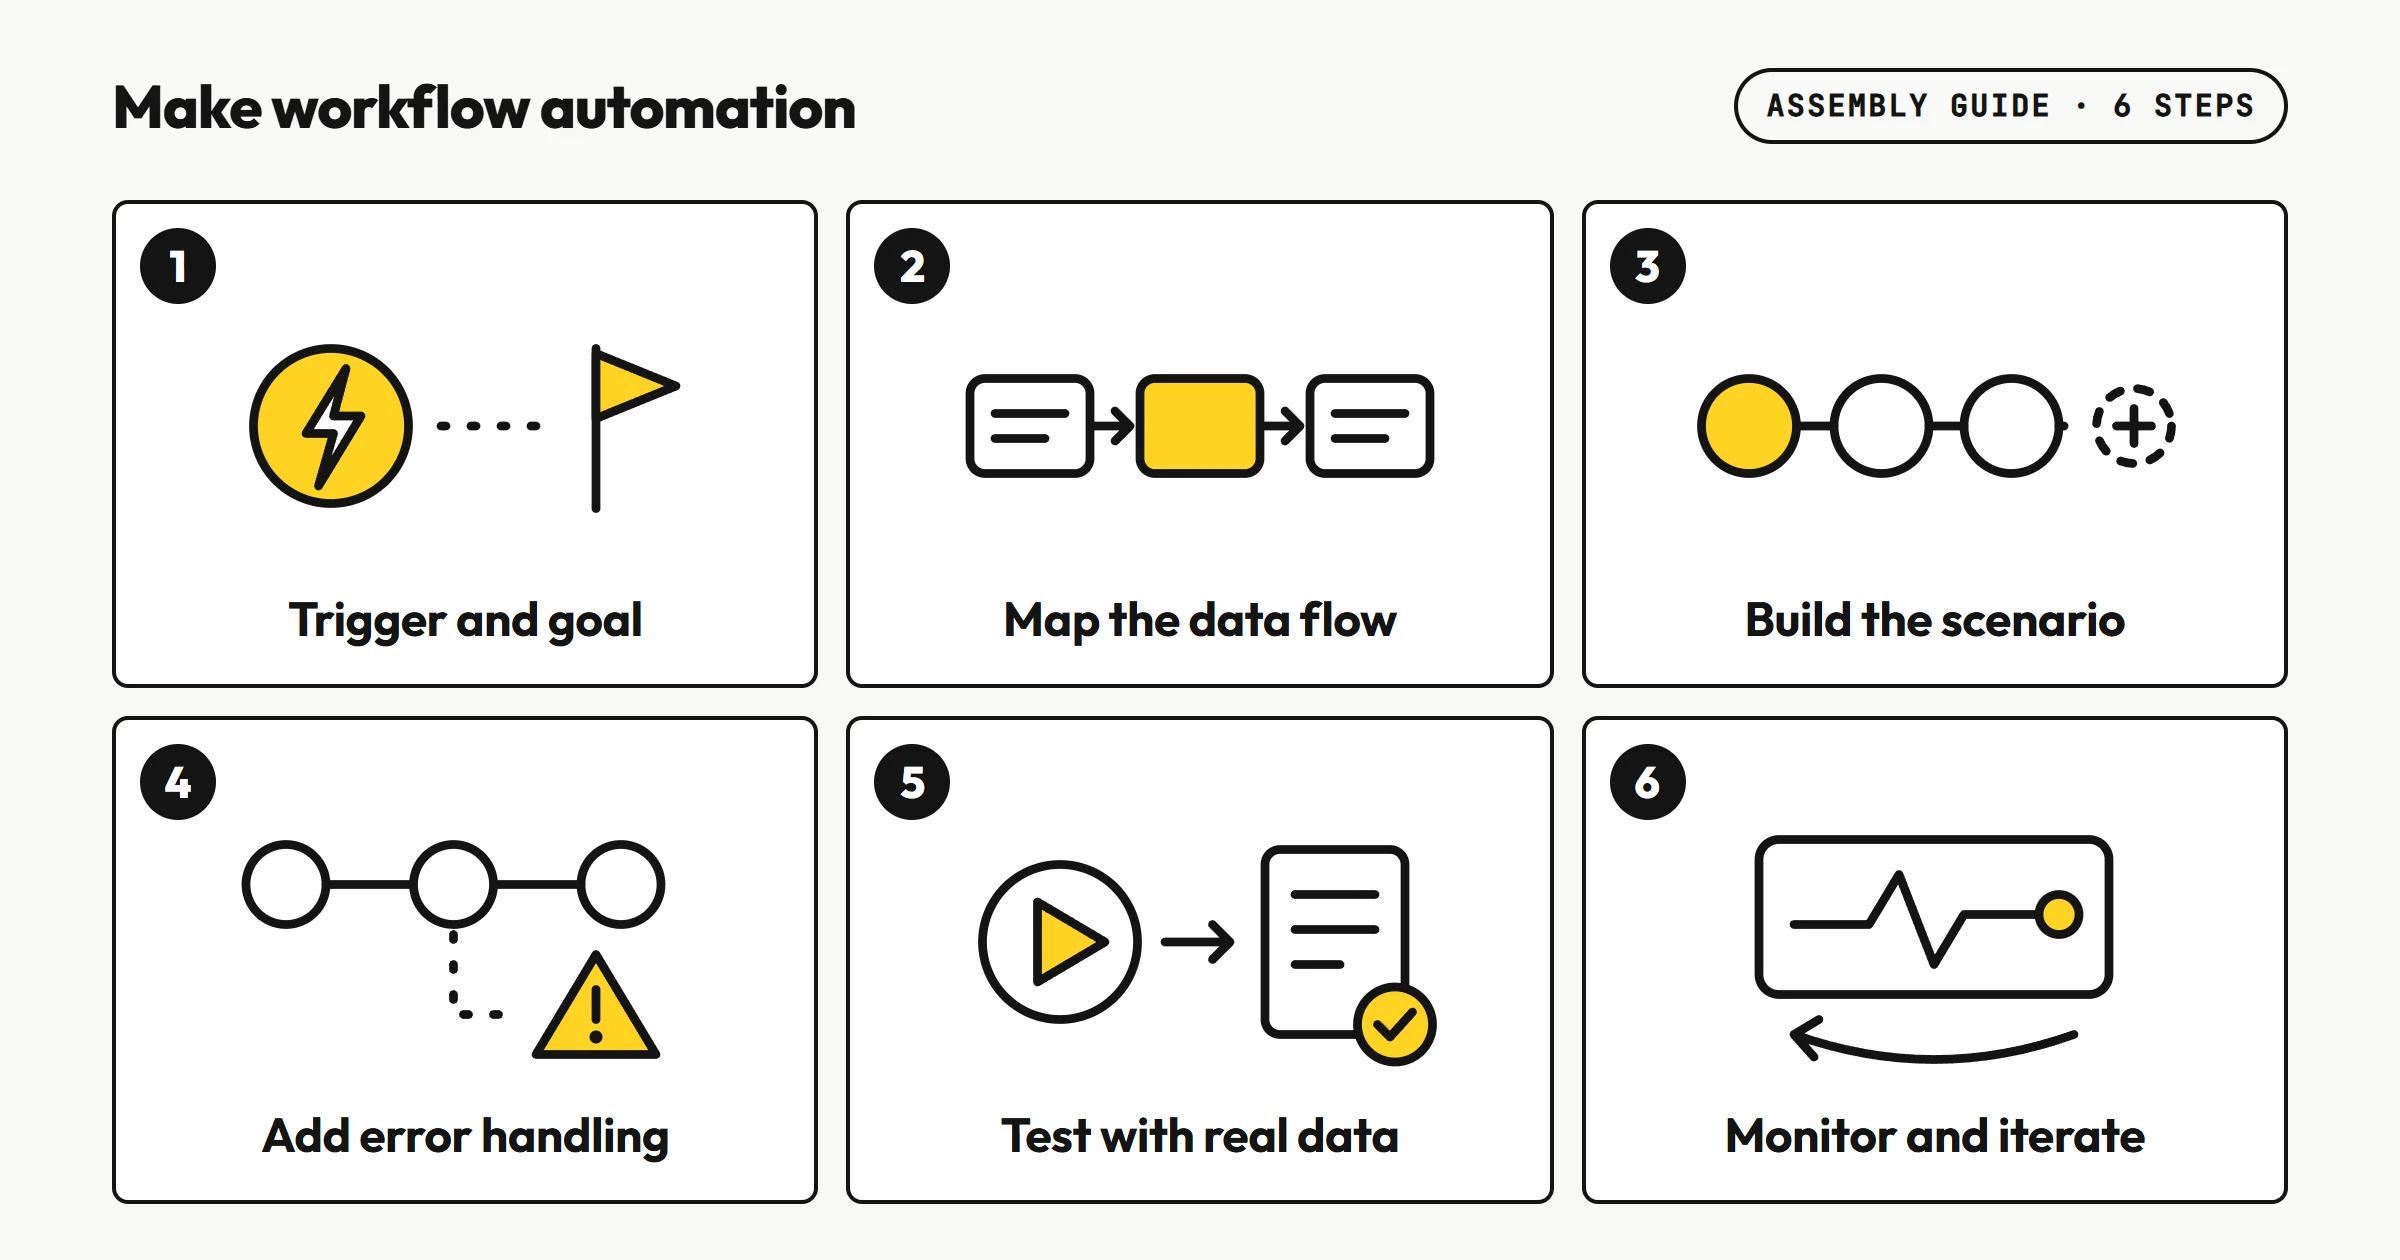
Step 1: Define the trigger and the goal
Start with the exact event that starts the workflow:
- Is it a new row in a spreadsheet?
- A new email in a specific folder?
- A webhook from your website?
Then, define what the workflow should accomplish. Write it down in one sentence. For example: "When a new lead fills out the form on my website, add them to my CRM and send a welcome email."
Step 2: Map the data flow
Identify all the apps involved and the data that needs to move between them. Draw a simple diagram on paper. This helps you see potential bottlenecks or missing steps before you start building.
Step 3: Build the scenario in Make
Create a new scenario in Make. Add the trigger module and configure it with the correct connection. Then, add action modules one by one. For each module, map the data from previous steps using Make's mapping panel.
Step 4: Add error handling
Every workflow will fail at some point. An API might be down, or a data format might change. Add error handler routes to catch failures and either retry, log the error, or send a notification. This prevents silent failures that can cause data loss. Make gives you five error handlers:
- Retry stores the incomplete run so it can be retried, automatically or by hand.
- Skip ignores the error and moves on to the next items.
- Resume replaces the failed module's output with a substitute value and continues.
- Commit stops the run and keeps the changes already made.
- Rollback stops the run and reverts the changes.
Without any handler, a failed module stops the run, and repeated errors deactivate the scenario. A scenario that starts with an instant trigger is deactivated at the first error.
The rule we apply on our own workflows goes one step further: make silence impossible. The lead monitoring system we run for a client reads 25 industry feeds every morning and sends its report every day, even on days with zero signals, so that an empty inbox can only mean a breakdown. A dedicated alert fires when a run fails.
Step 5: Test with real data
Use Make's "Run once" feature to test with real data from your connected apps. Check the output of each module. Make sure the data is formatted correctly and the actions perform as expected.
Step 6: Monitor and iterate
After activating the scenario, monitor its execution history. Look for errors and unexpected behavior. Make adjustments as needed. Automation is not a set-and-forget task; it requires ongoing attention.
Make vs. other automation tools: a comparison
Here is a comparison of Make with other common automation approaches.
| Tool or method | Visual builder | Pricing model | Best for | Learning curve |
|---|---|---|---|---|
| Make | Yes, flowchart-style | Per credit, one per module run in most cases | Complex multi-step workflows | Moderate |
| Zapier | Yes, linear | Per task | Simple two-step automations | Low |
| n8n | Yes, node-based | Self-hosted free, cloud paid | Technical users who want control | High |
| Custom code (Python, etc.) | No | Development time | Highly specific needs | Very high |
Make's visual builder is more detailed than Zapier's, which can be an advantage for complex workflows. n8n offers more flexibility but requires technical skills. Custom code gives ultimate control but is expensive to maintain. It is why we often recommend Make for non-technical teams, even though n8n is more capable on paper, as explained in our comparison of no code workflow automation platforms.
Common mistakes to avoid in Make workflow automation
Many Make workflows fail because of avoidable mistakes. Here are the most frequent ones.
Mistake 1: Not planning for errors
As mentioned, errors are inevitable. If you don't add error handlers, a single failed module can stop the entire scenario, and you might not even notice. Always add at least a basic error handler that logs the error and notifies you.
Mistake 2: Overcomplicating the workflow
It's tempting to build a massive scenario that does everything. But complex workflows are harder to debug and maintain. Break large workflows into smaller, focused scenarios. Use webhooks or data stores to pass data between them if needed.
Mistake 3: Ignoring data mapping
Data mapping is where most mistakes happen. A field might be mapped incorrectly, leading to wrong data in your apps. Always test with real data and verify the output in the target app.
Mistake 4: Not documenting the workflow
If you leave the company or someone else needs to maintain the workflow, they will struggle without documentation. Write a short description that covers:
- what the workflow does,
- the apps involved,
- any special configurations.
Store it in a shared location.
The hidden cost of Make workflow automation: maintenance debt
Most articles about Make focus on how to build workflows. Few talk about the ongoing cost of maintaining them. But maintenance is where the real time sink lies.
Every connected app can change its API, rename fields, or alter its behavior. When that happens, your workflow breaks. You need to monitor for these changes and update your scenarios accordingly. If you have dozens of workflows, this can become a part-time job.
One way to reduce maintenance debt is to use Make's version history, which lets you restore a saved version of a scenario for up to 60 days, and to keep a changelog for each scenario. When you update a workflow, note what changed and why. This makes it easier to troubleshoot later.
Another approach is to limit the number of apps you connect. Each additional app is a potential point of failure. Stick to the apps that are essential for your business.
If you're building automations for clients or internal teams, consider the handover process. Document everything, provide training, and set expectations for ongoing maintenance. This is where a structured approach pays off. On our side, a workflow is handed over with a user onboarding guide, and maintenance is a separate line: our copiloting, from €100 excl. VAT per month, covers monitoring, fixes and optimizations. Both are described on our services page.
Frequently asked questions
Is Make workflow automation suitable for small businesses?
Yes, Make is suitable for small businesses because it offers a free plan and a visual interface that doesn't require coding. However, small businesses should start with simple workflows and gradually add complexity as they learn.
How much does Make cost?
Make offers a free plan limited to 1,000 credits per month, with a 15-minute minimum interval between runs. Paid plans start with Core at $9 per month billed annually for 10,000 credits, and increase based on the number of credits. The exact pricing depends on your usage, so check Make's website for current details.
Can I use Make to automate tasks between two apps that are not directly integrated?
Yes, Make can act as a bridge between apps that don't have native integrations. You can use webhooks, email triggers, or intermediate steps like Google Sheets to connect them.
What is the difference between a trigger and an action in Make?
A trigger is the event that starts the workflow, such as a new row in a spreadsheet. An action is an operation performed by the workflow, such as sending an email or creating a record in another app.
Do I need technical skills to use Make?
Basic computer skills are enough to get started with Make. The visual builder is intuitive, but understanding data mapping and logic may require some learning. For complex workflows, some technical knowledge helps.